I’m not even going to start apologising for how long it’s been since I’ve posted! No amount of apology can cover it. So, I’ll just get right into this post.
To say I’ve been busy with birthday cakes is an understatement! I thought I would use this post to share some of my discoveries, especially in the world of mud cakes. This is as much about sharing with others as it is about reminding myself of what I did and how I did it.

This was the cake for my daughter’s birthday party. Excuse the fact that Elsa looks like she’s swallowed Cinderella’s pumpking carriage. It was my first time using fondant and I realised belatedly that there was condensation on the buttercream, hence the fondant stuck to the buttercream in a rather unbecoming way. I will do a different post on the Frozen party. This one is more about the cake under the fondant.
I used a caramel mud cake for both cakes. I multiplied the quantities several times over. I used a simple, yet effective recipe from taste.com.au. What I love most about this recipe – other than the taste – is that it was easy to manage with a little one about. You can do it in stages quite easily. Here is the original recipe, but I have also copied it down here, with my own minor edits. Credit to Kerrie Sun*.
Caramel Mud Cake Recipe
- 200g butter, cubed
- 200g white chocolate, chopped
- 200g (1 cup, firmly packed) dark brown sugar
- 180ml (3/4 cup) hot water
- 1 tablespoon golden syrup
- 2 teaspoons vanilla essence
- 2 eggs, at room temperature
- 150g (1 cup) plain flour
- 150g (1 cup) self-raising flour
Method
- Preheat oven to 160°C. Brush a round 22cm (base measurement) cake pan with melted butter (or spray-on oil). Line base and side with non-stick baking paper.
- Place butter, chocolate, sugar, water, golden syrup and vanilla essence in a heavy-based saucepan. Stir over medium-low heat with a wooden spoon for 5 mins or until chocolate melts and mixture is smooth. Set aside for 20 mins to cool.
I actually did this in the microwave, starting with 1 minute bursts, agitating the bowl or stirring with a wooden spoon, then 30 second bursts until it’s melted and incorporated. I have left it for longer than 20 minutes, but I think if you leave it for too long it alters the texture of the cake. Depending on the weather, you might need to leave it for longer than 20 minutes. I basically leave it until the bowl is cool to touch. That can easily take an hour. I usually do this first step earlier in the day, then do the rest later. At the end of the day, you just want to prevent creating scrambled eggs when you move on to the next step! - Add eggs, 1 at a time, beating well after each addition. (I have done this with both a hand mixer and a wooden spoon. The former creates better aeration, so I would recommend it). Sift combined flours over chocolate mixture and stir with a wooden spoon until well combined.
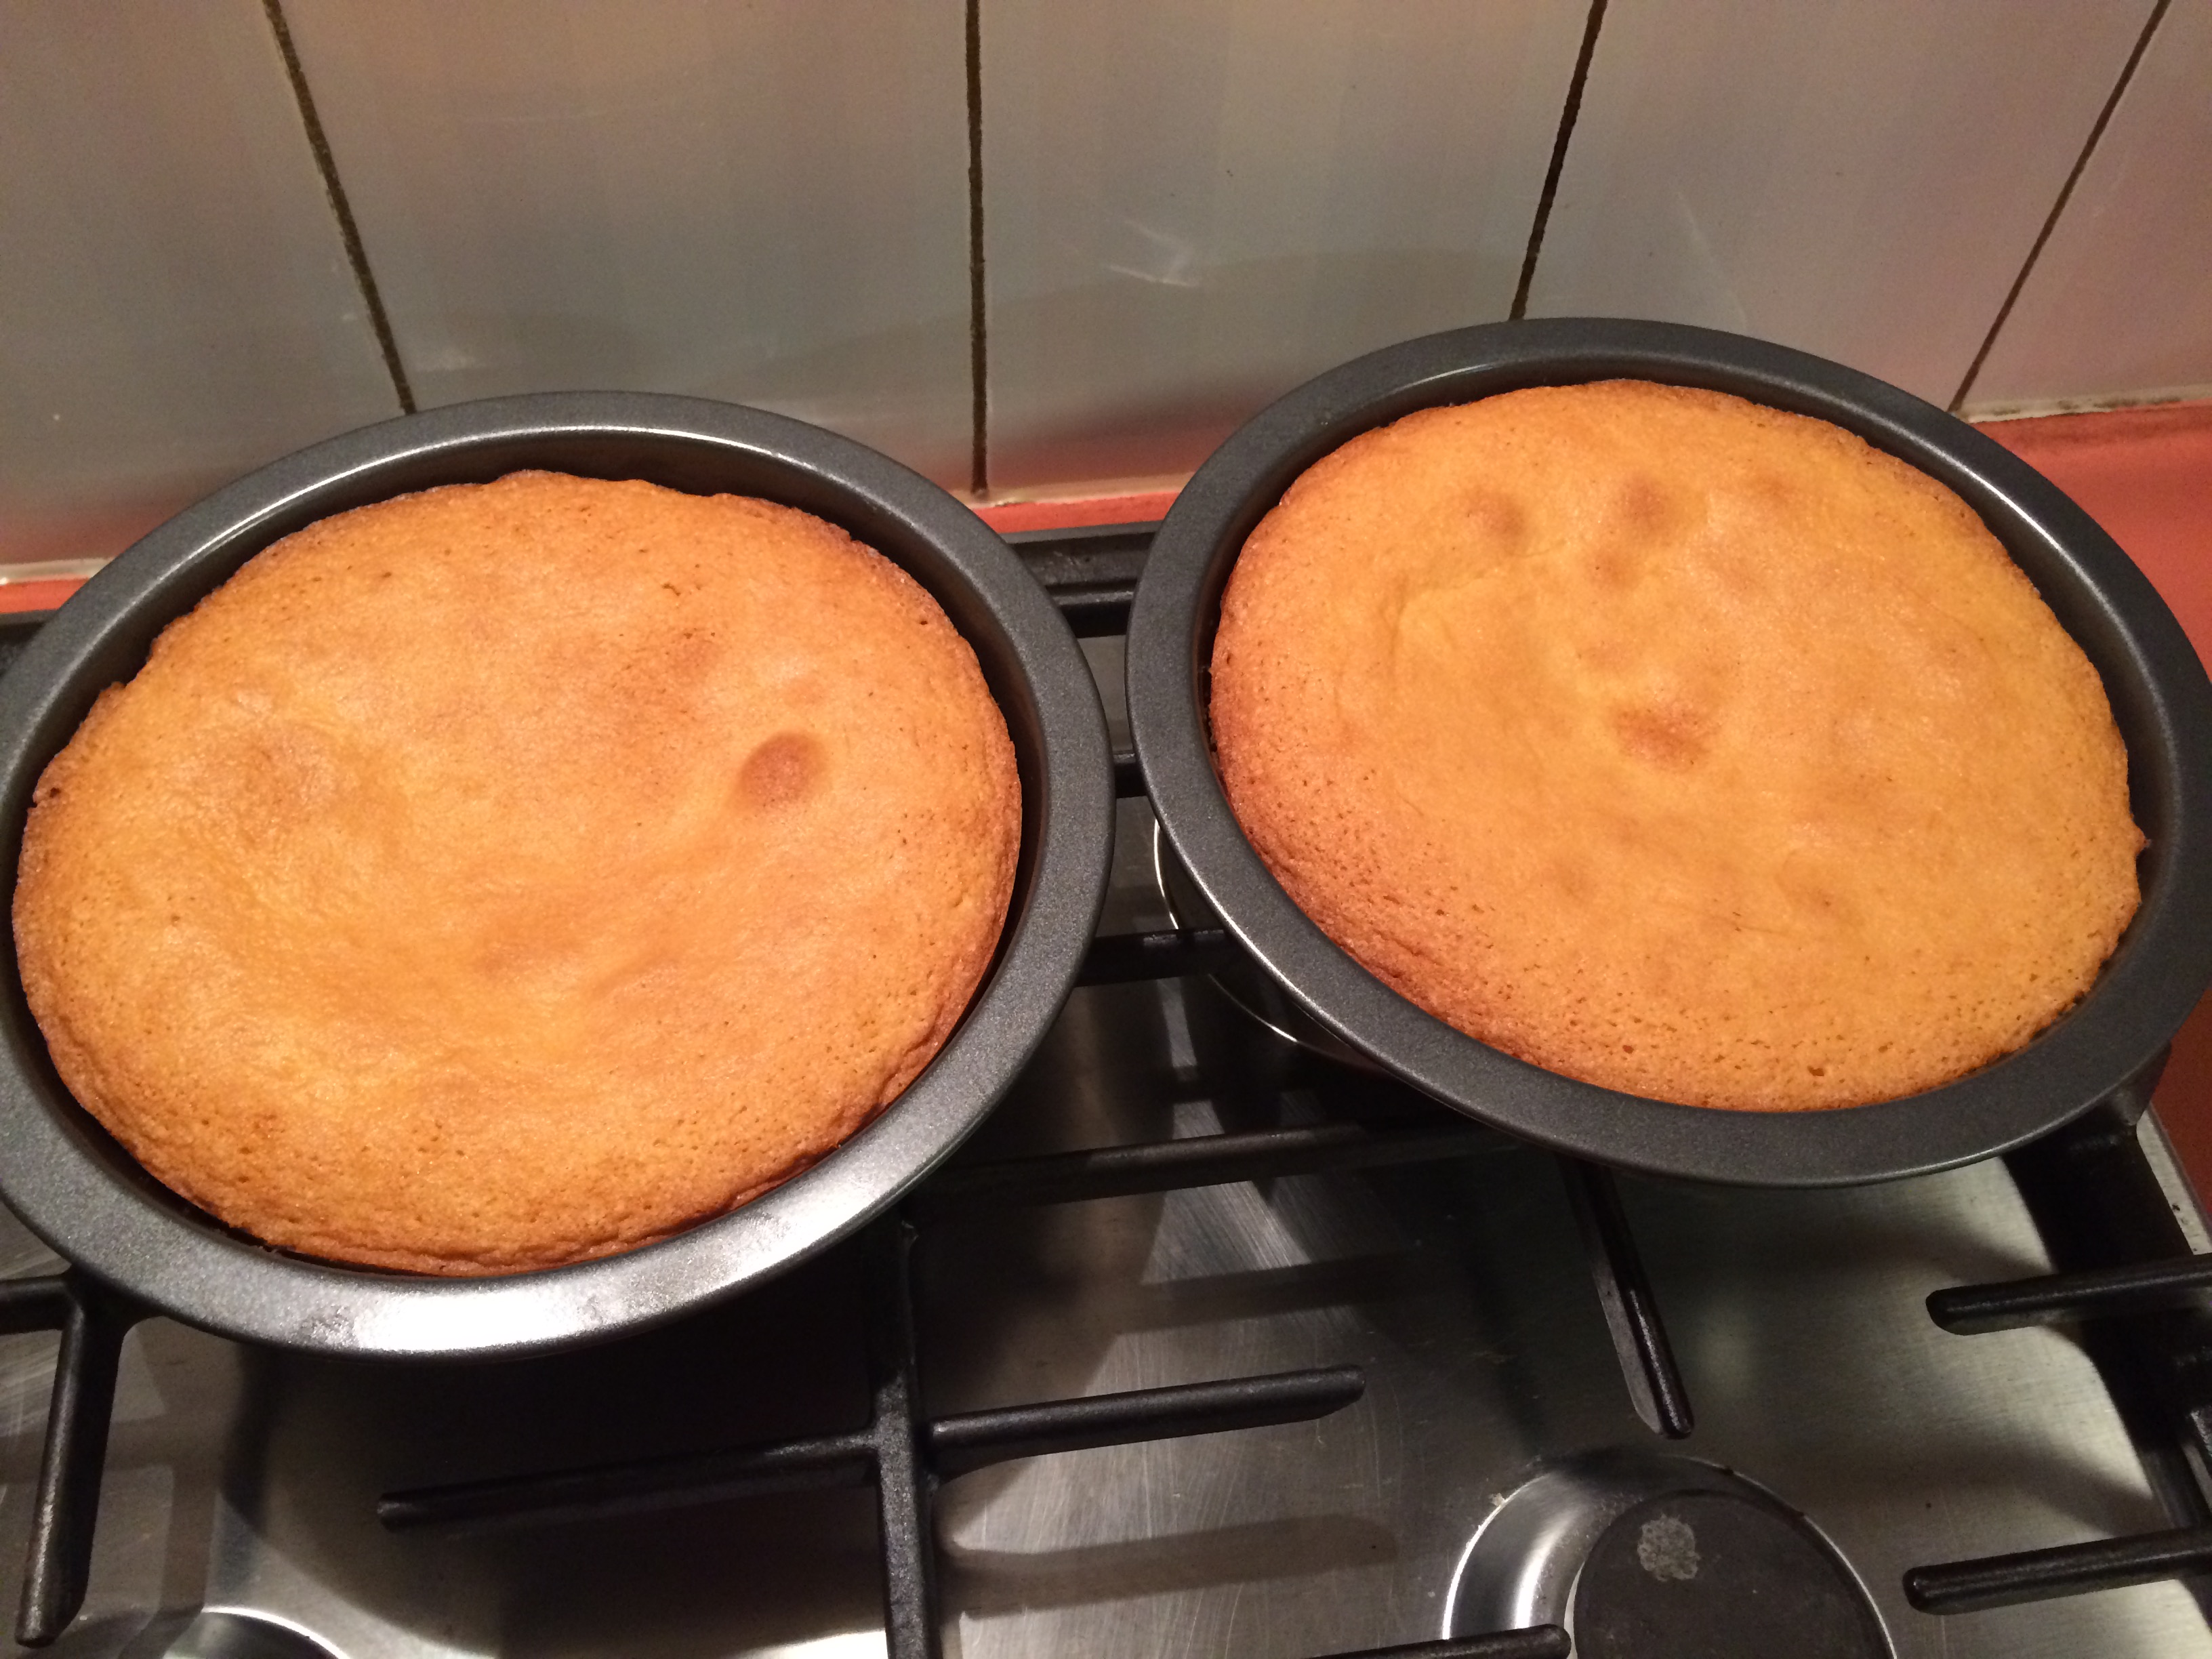
- Pour mixture into pan and bake in preheated oven for 50-60 mins or until a skewer comes out almost clean. Depending on the dimensions of the tin you are using, you will adjust the temperature and baking time accordingly. Stand cake for 20 mins before turning onto a wire rack to cool.
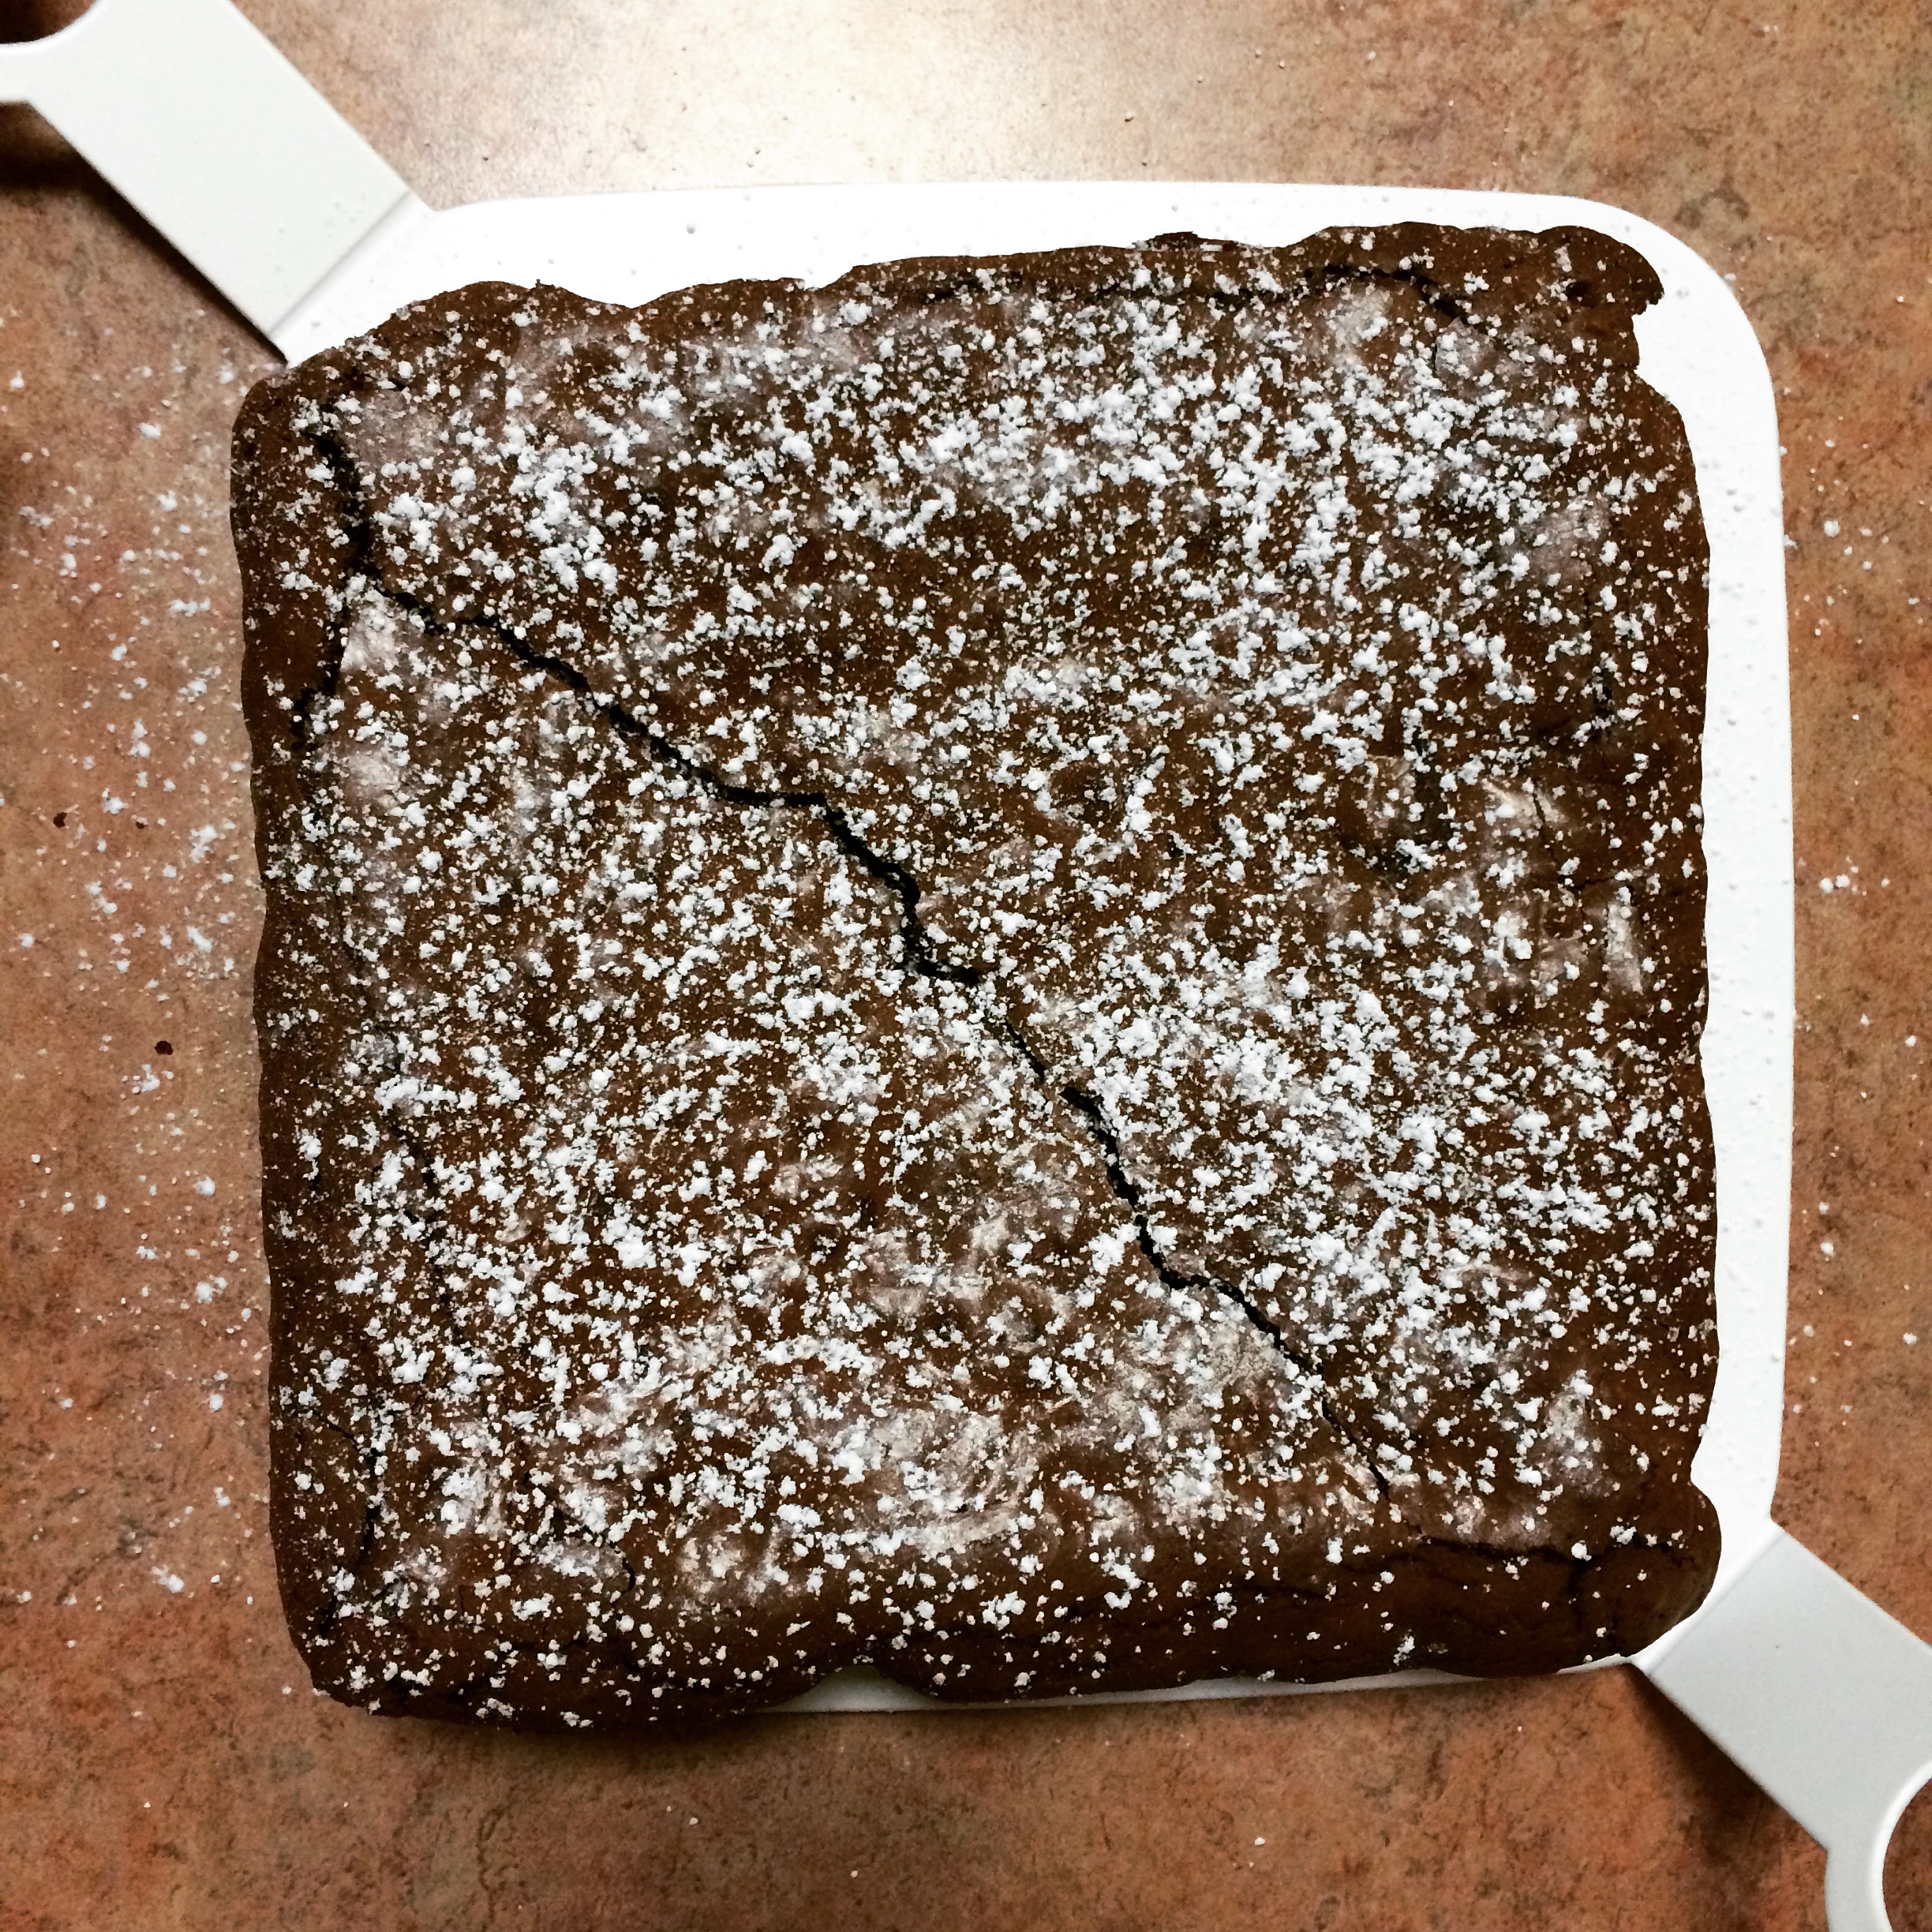
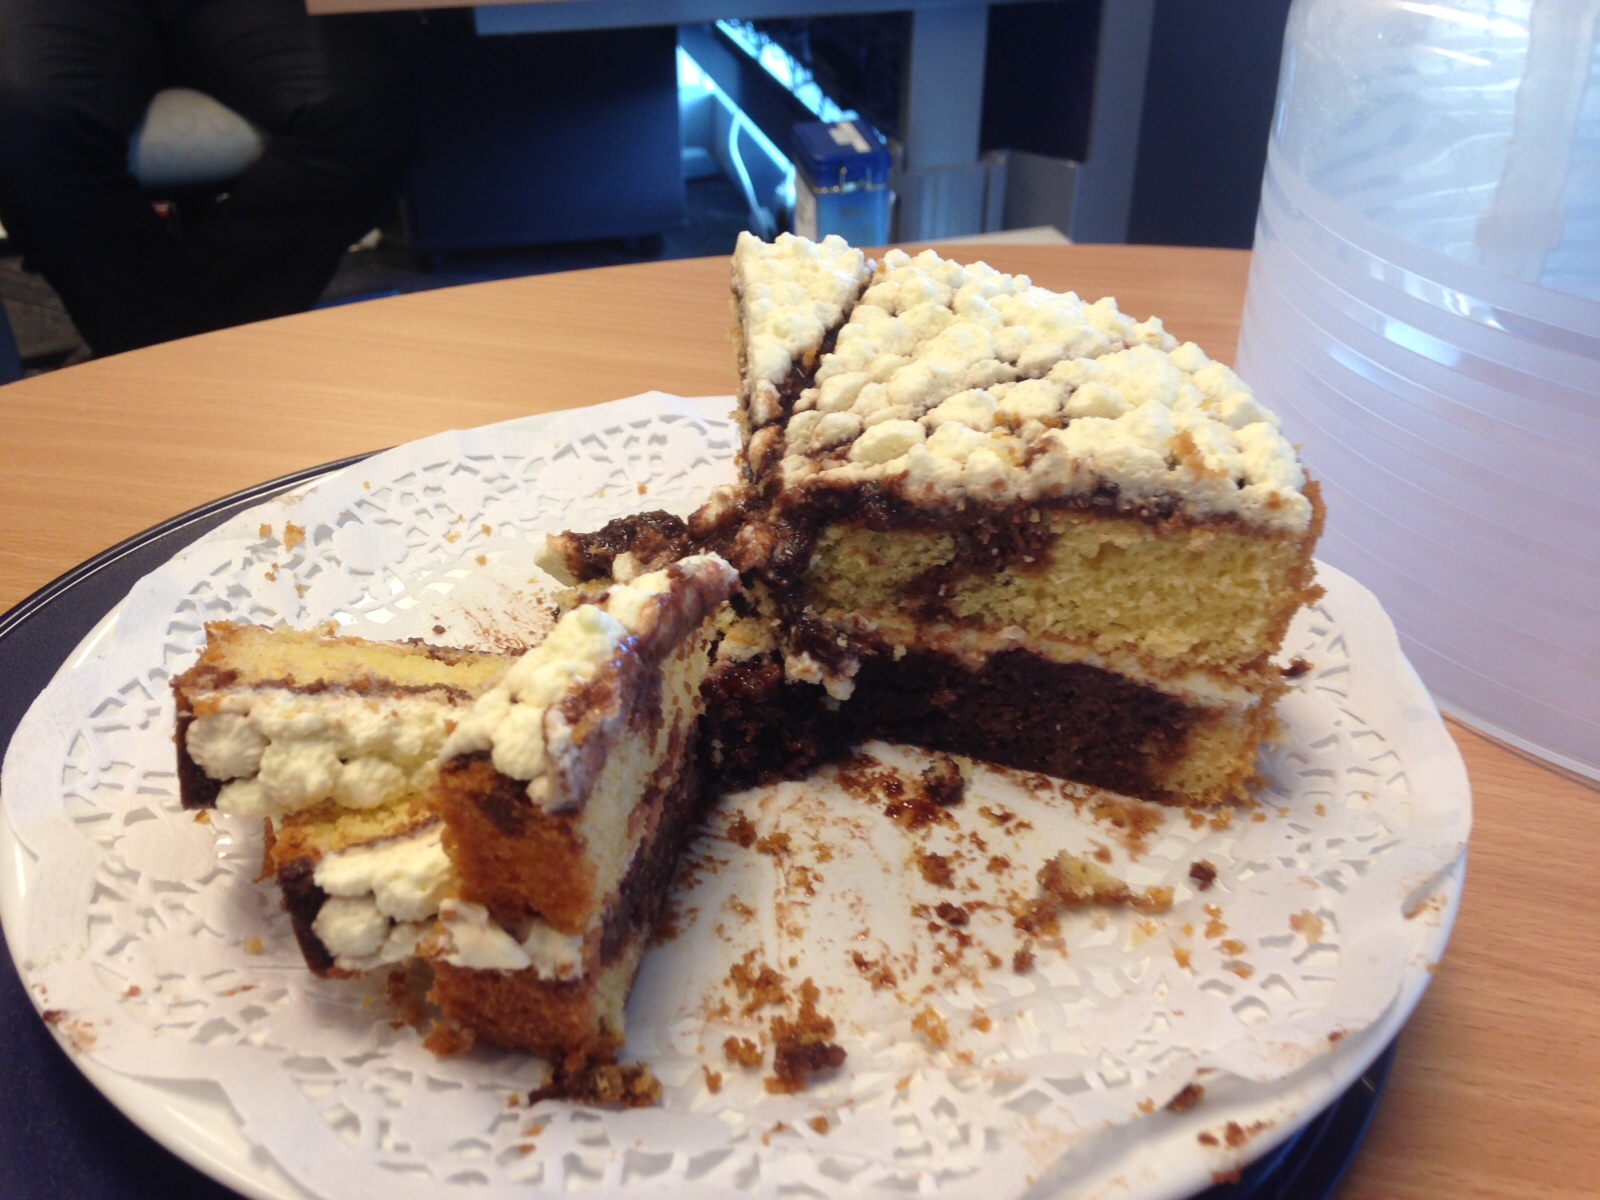
I adapted the above recipe to create a chocolate mud cake for the cake I made for her actual birthday, pictured below.

Chocolate Mud Cake Recipe
- 200g butter, cubed
- 200g dark chocolate/milk chocolate/mix of both, chopped
- 200g (1 cup, firmly packed) dark brown sugar
- 200ml hot water
- 2 teaspoons vanilla essence
- 2 eggs, at room temperature
- 150g (1 cup) plain flour
- 150g (1 cup) self-raising flour
- 60g cocoa powder
Method
- Preheat oven to 160°C. Brush a round 22cm (base measurement) cake pan with melted butter (or spray-on oil). Line base and side with non-stick baking paper.
- Place butter, chocolate, sugar, water, and vanilla essence in a heavy-based saucepan. Stir over medium-low heat with a wooden spoon for 5 mins or until chocolate melts and mixture is smooth. Set aside for 20 mins to cool.
I actually did this in the microwave, starting with 1 minute bursts, agitating the bowl or stirring with a wooden spoon, then 30 second bursts until it’s melted and incorporated. I have left it for longer than 20 minutes, but I think if you leave it for too long it alters the texture of the cake. Depending on the weather, you might need to leave it for longer than 20 minutes. I basically leave it until the bowl is cool to touch. That can easily take an hour. I usually do this first step earlier in the day, then do the rest later. At the end of the day, you just want to prevent creating scrambled eggs when you move on to the next step! - Add eggs, 1 at a time, beating well after each addition. (I have done this with both a hand mixer and a wooden spoon. The former creates better aeration, so I would recommend it). Sift combined flours over chocolate mixture and stir with a wooden spoon until well combined.
- Pour mixture into pan and bake in preheated oven for 50-60 mins or until a skewer comes out almost clean. Depending on the dimensions of the tin you are using, you will adjust the temperature and baking time accordingly. Stand cake for 20 mins before turning onto a wire rack to cool.
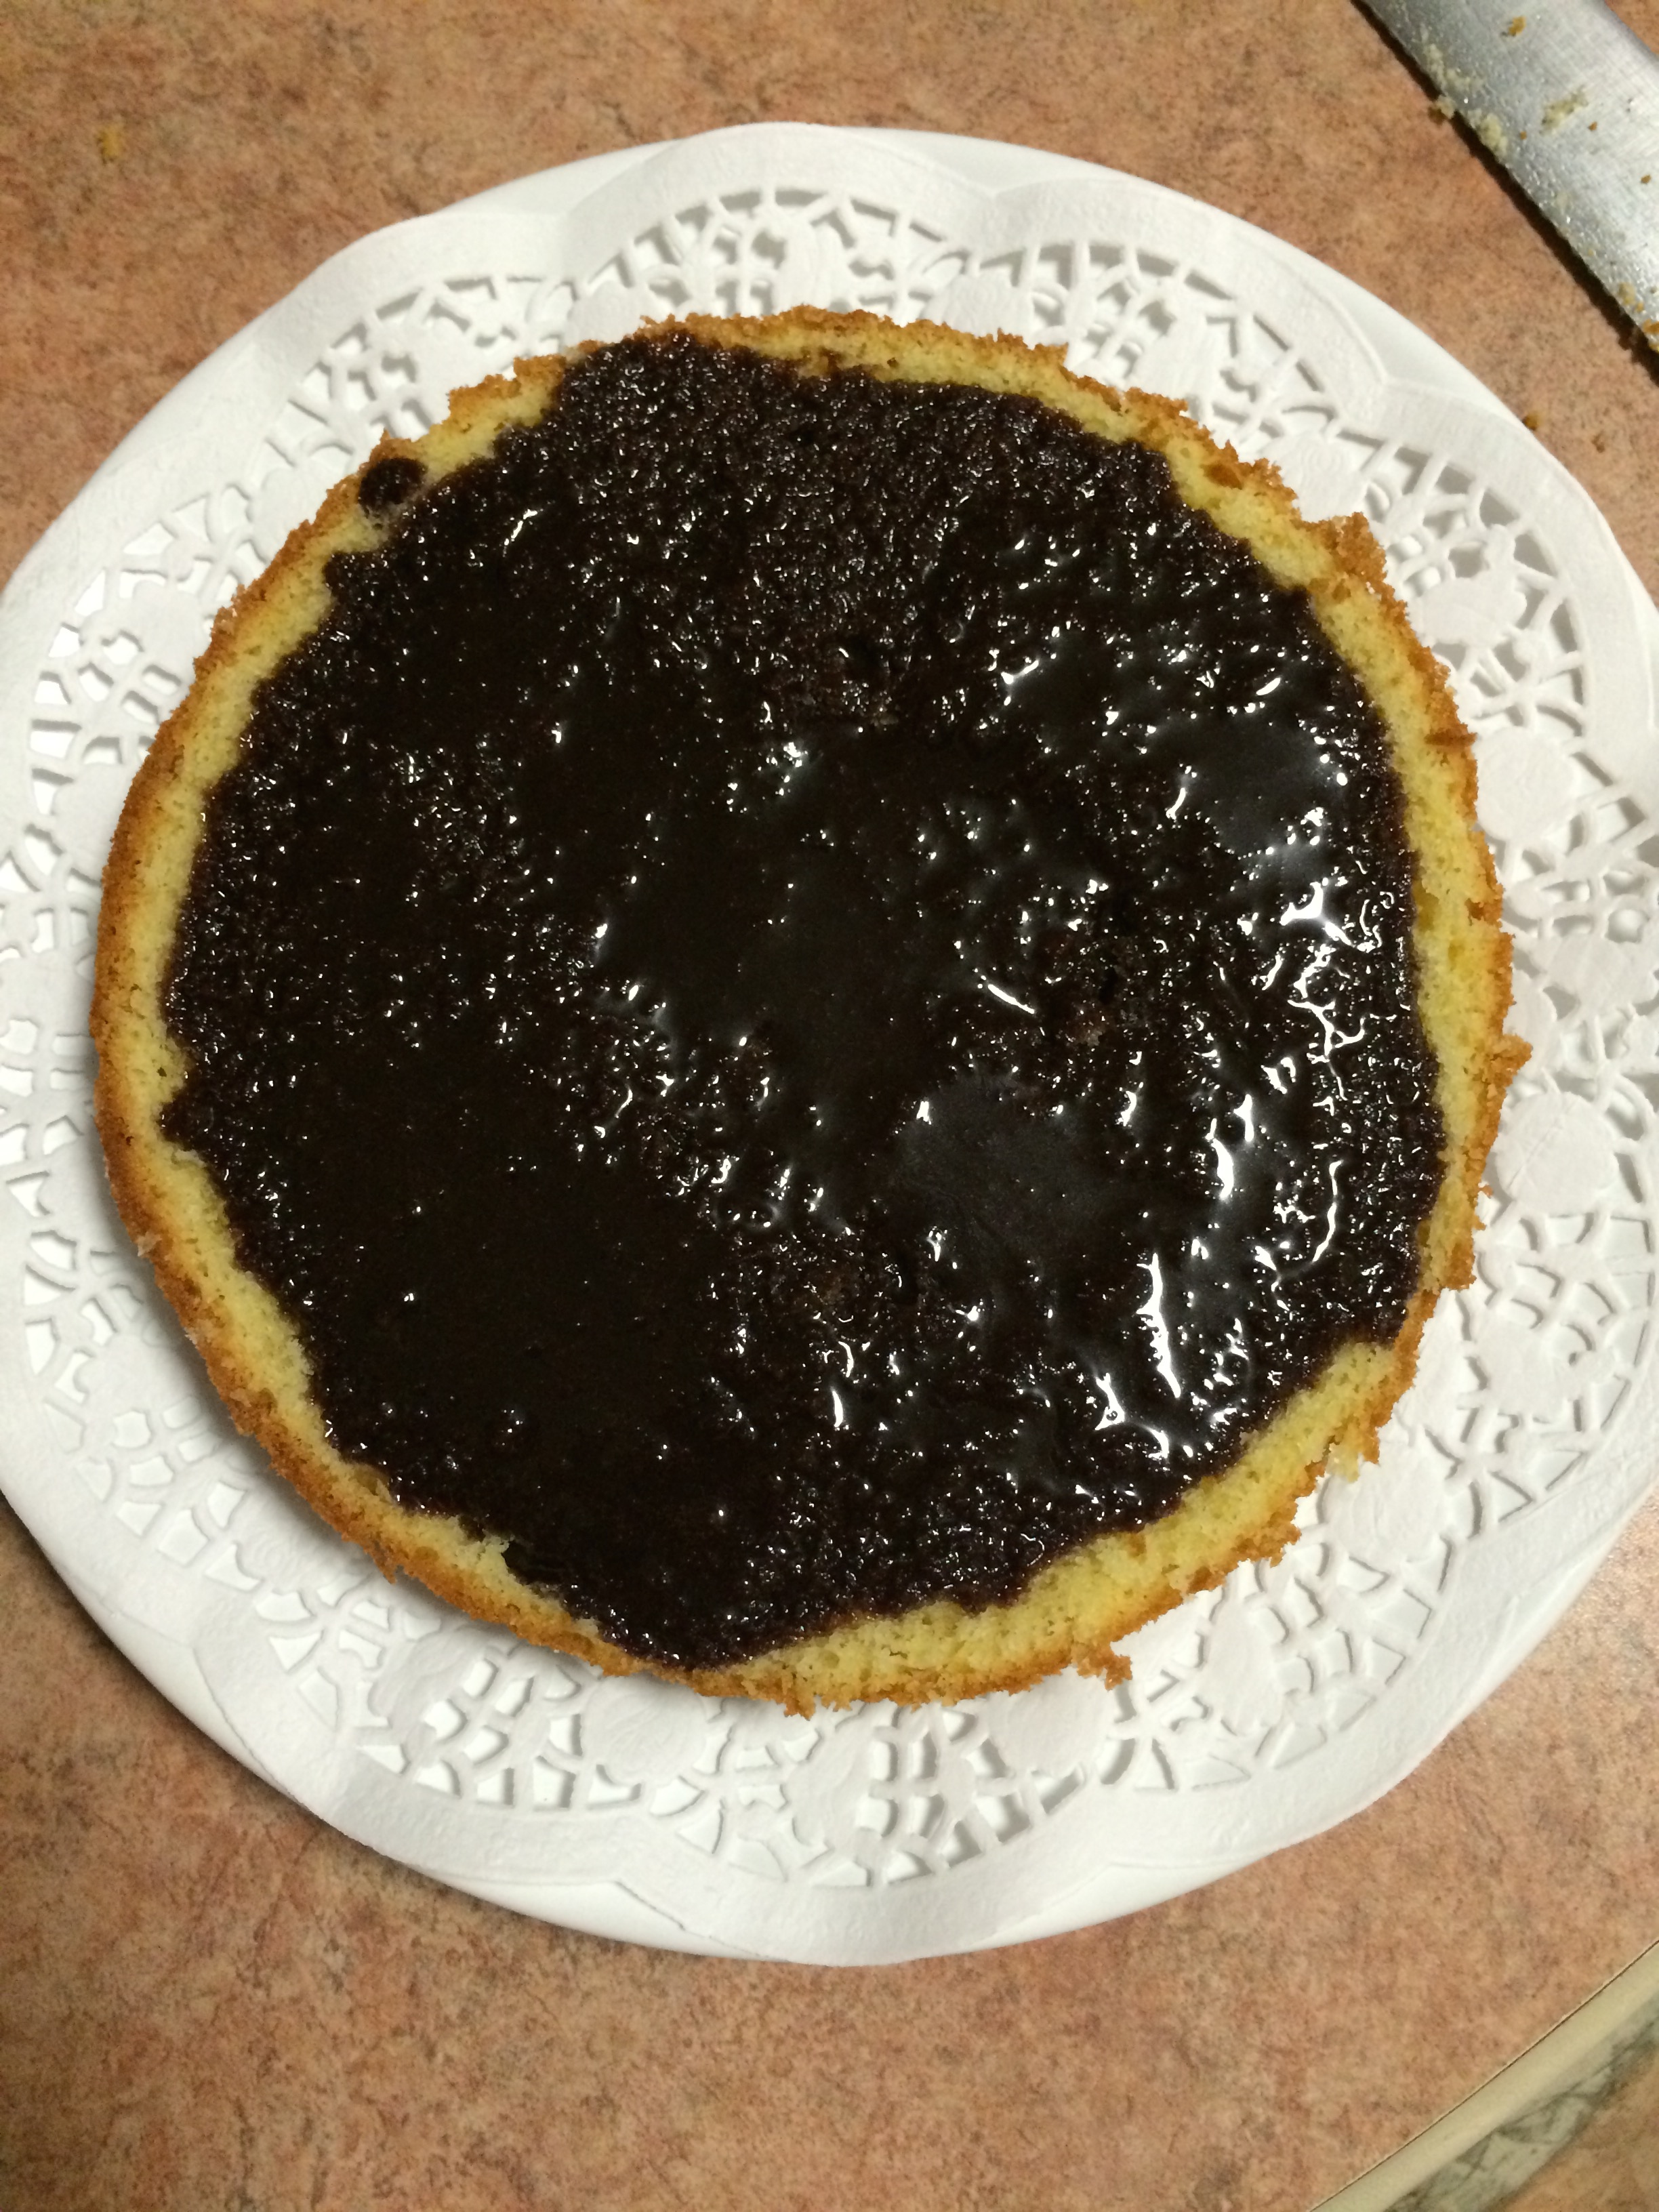
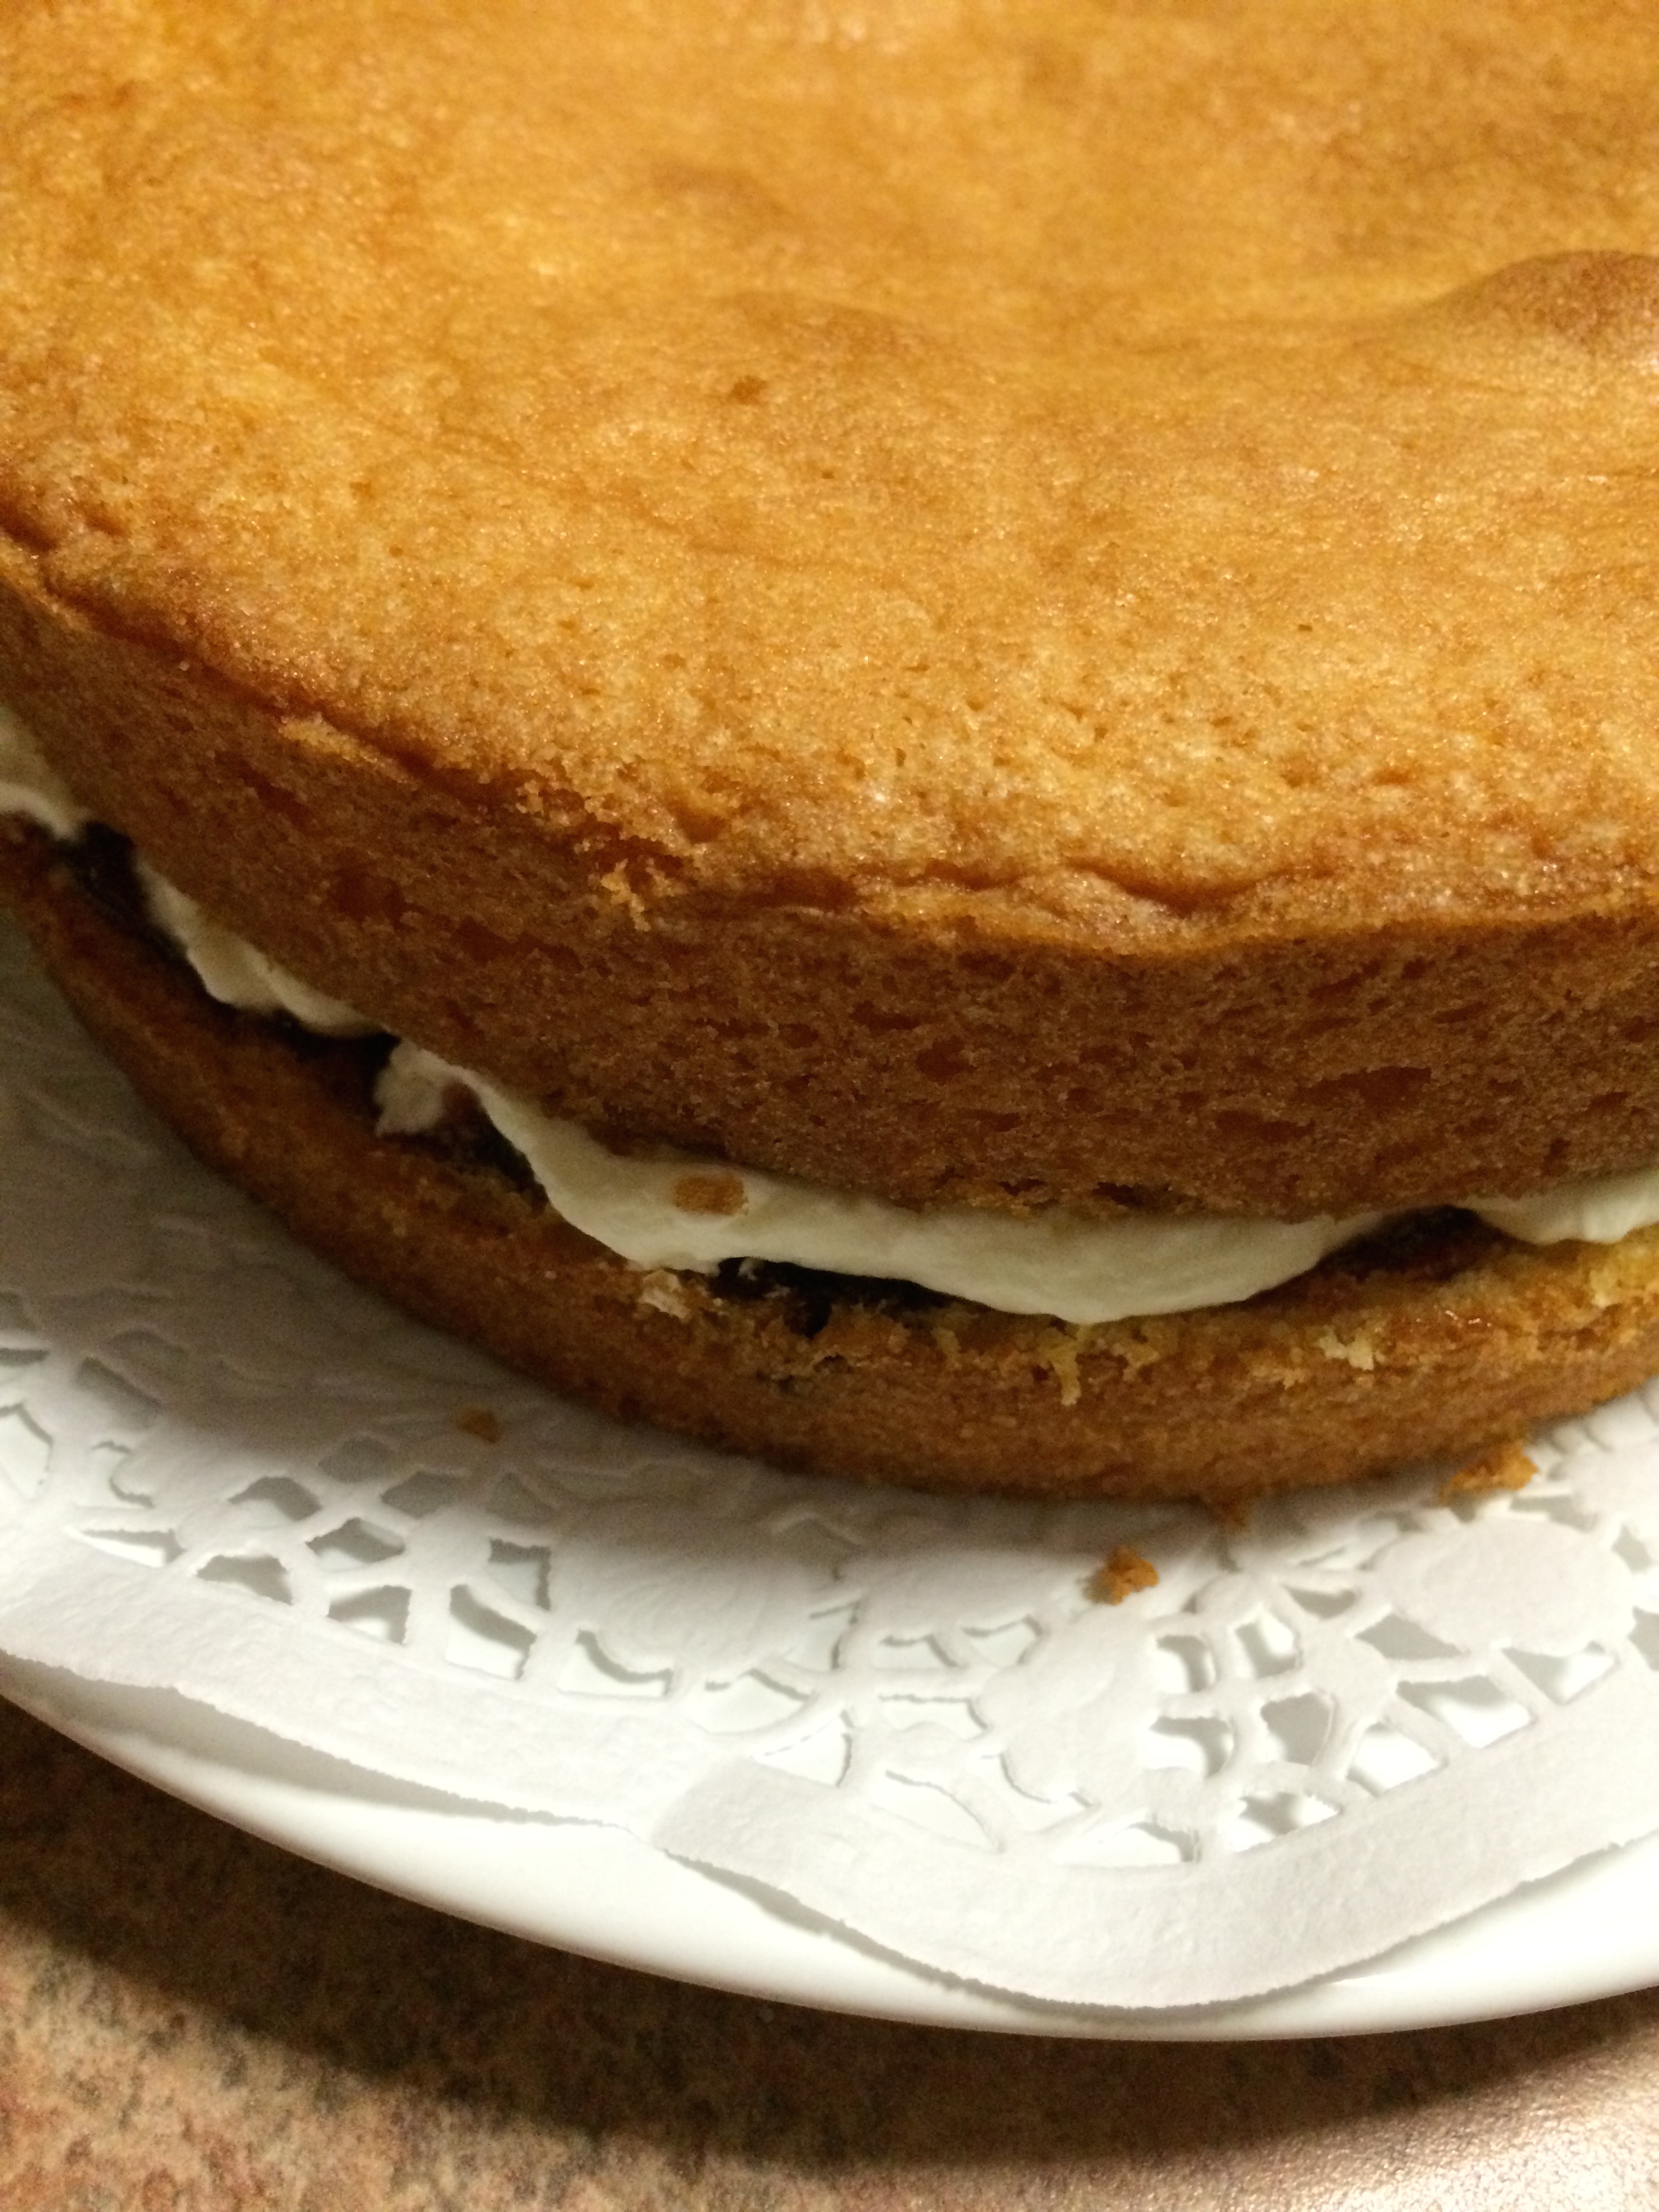
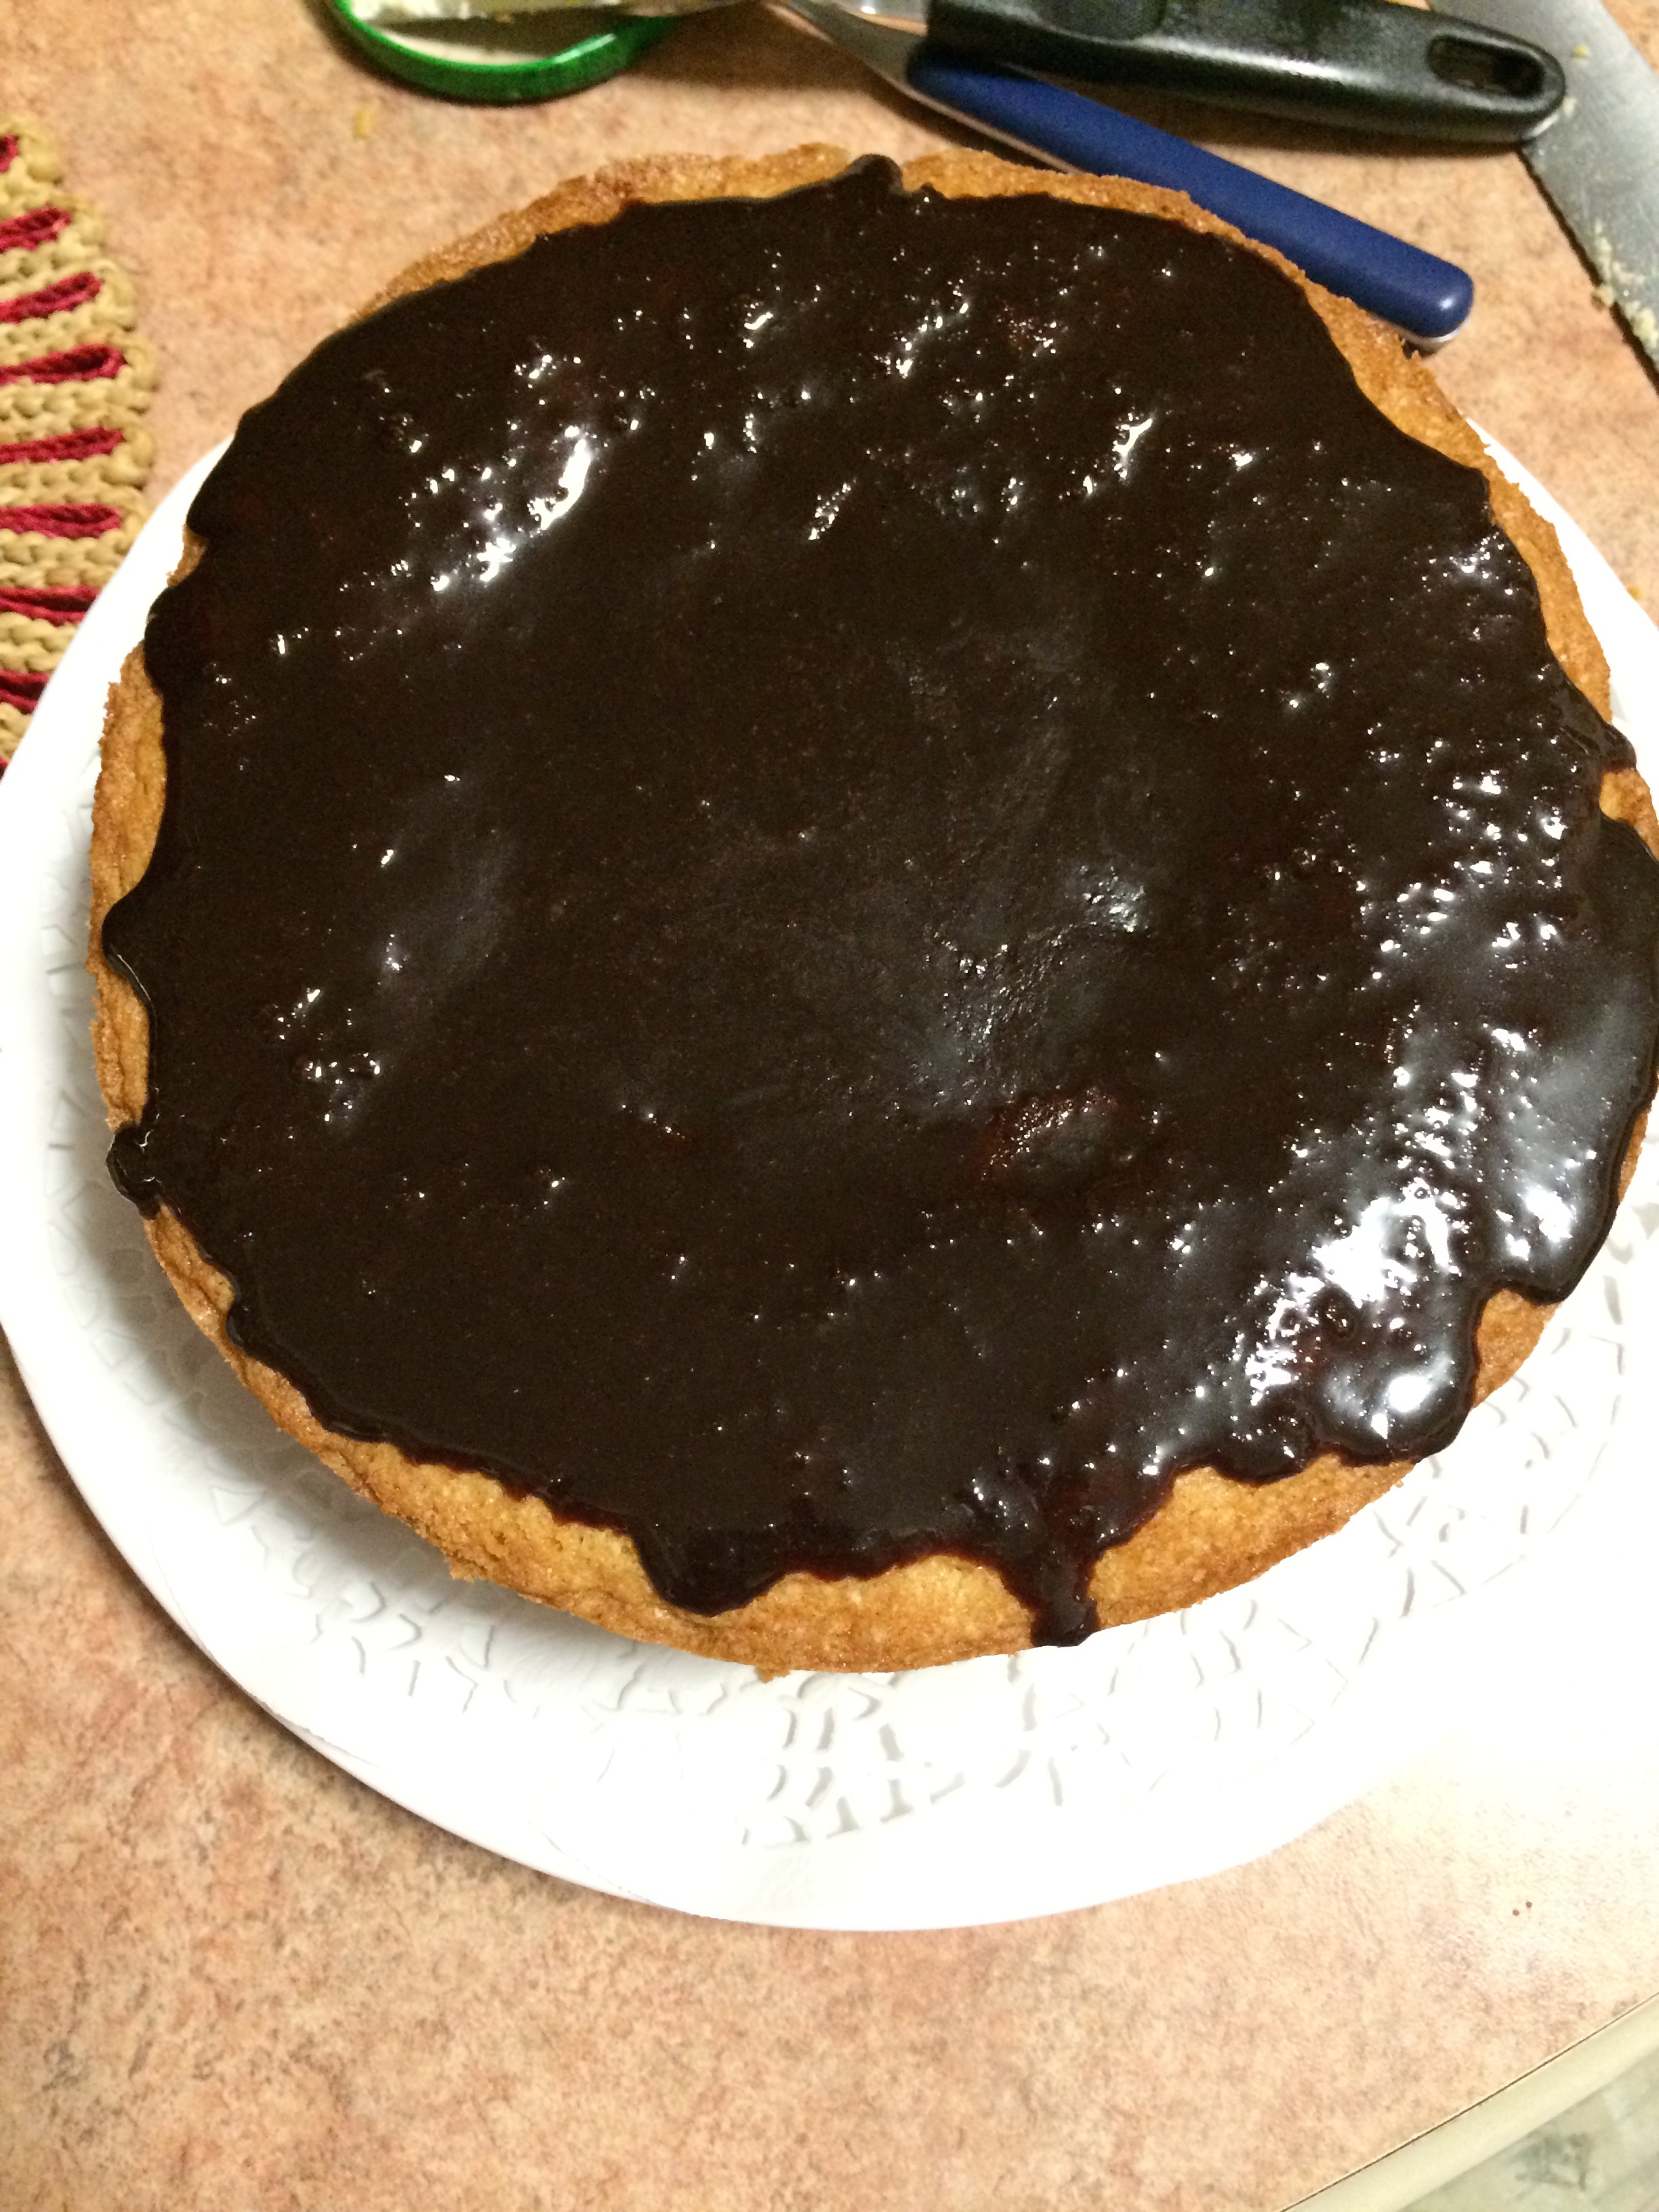
Both these recipes are great for using under fondant, especially with a chocolate ganache. This is the recipe I used for the ganache on the above cake. For the caramel mud cake, I used a Swiss Meringue Buttercream from Pink Cake Princess, who has her own YouTube channel. I would recommend subscribing. It’s a great channel!
*If anyone knows whether I am infringing on anyone’s copyright by having the recipe here, please let me know.